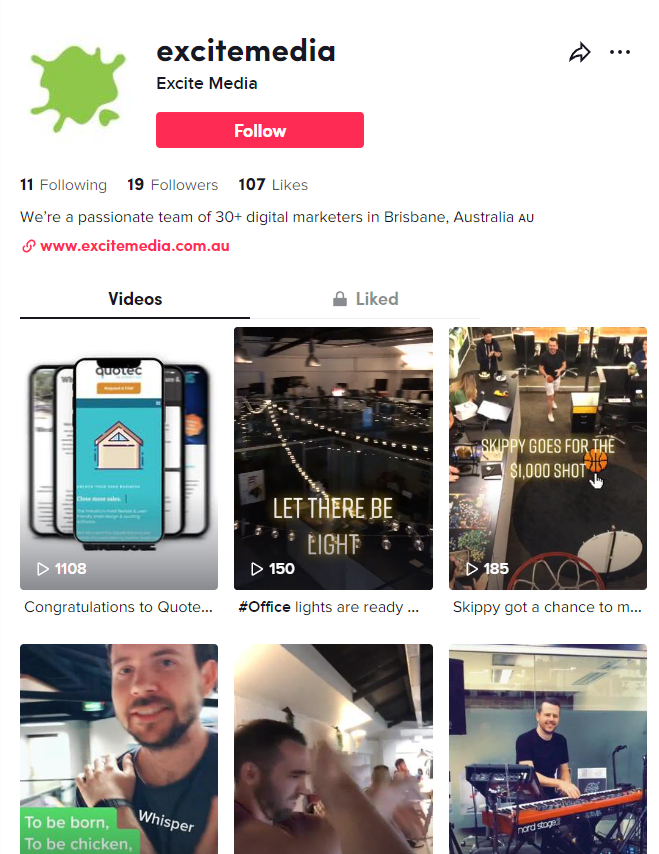
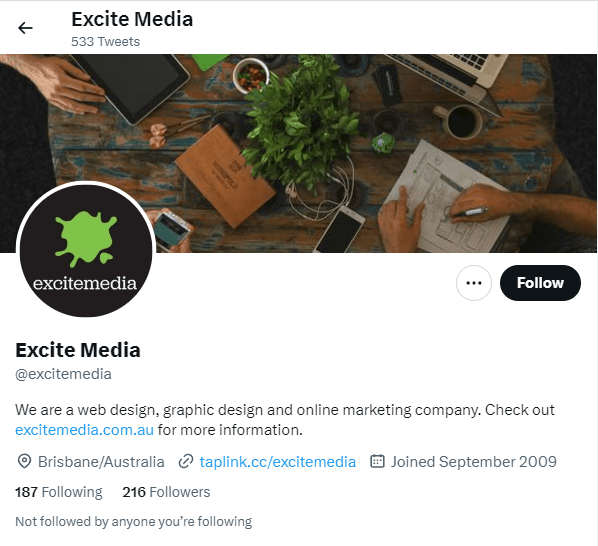
Showing up on social media can be crucial for your business. It’s not just a way to get found online, though.
It gives your business credibility, offers you loads of brand recognition opportunities, and it’s a way to show off your business in a different way – one that keeps you at the top of your customers’ minds.
We always encourage our clients to show up on social media where they can. So, we’ve put together this guide to show you how to get started and offer some tips to show up in an effective way.
Table of Contents
ToggleYou’ll need a few things before you set up your pages
It’s best to make sure you have all of the assets and information you’ll need before you get started.
Here are the basics.
Logo 🧰
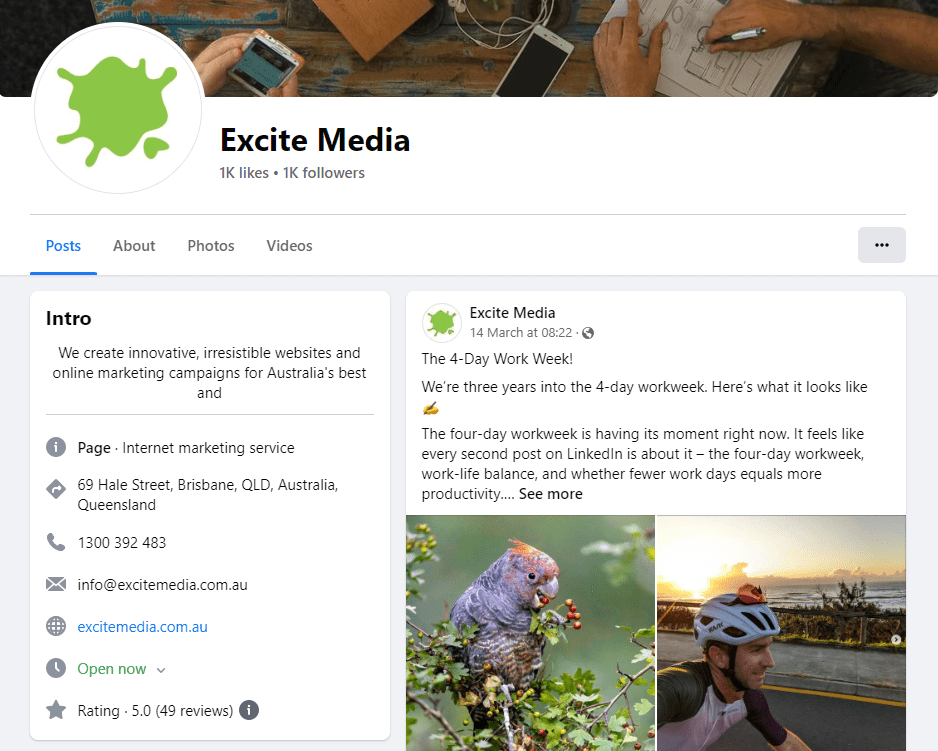
To make sure your logo looks its best across your social media profiles, it’s best if you can use a symbol-only version.
As an example, Excite Media’s logo features our splotch symbol with the ‘Excite Media’ wordmark. This is the logo we use on our website, business cards, and other marketing collateral.

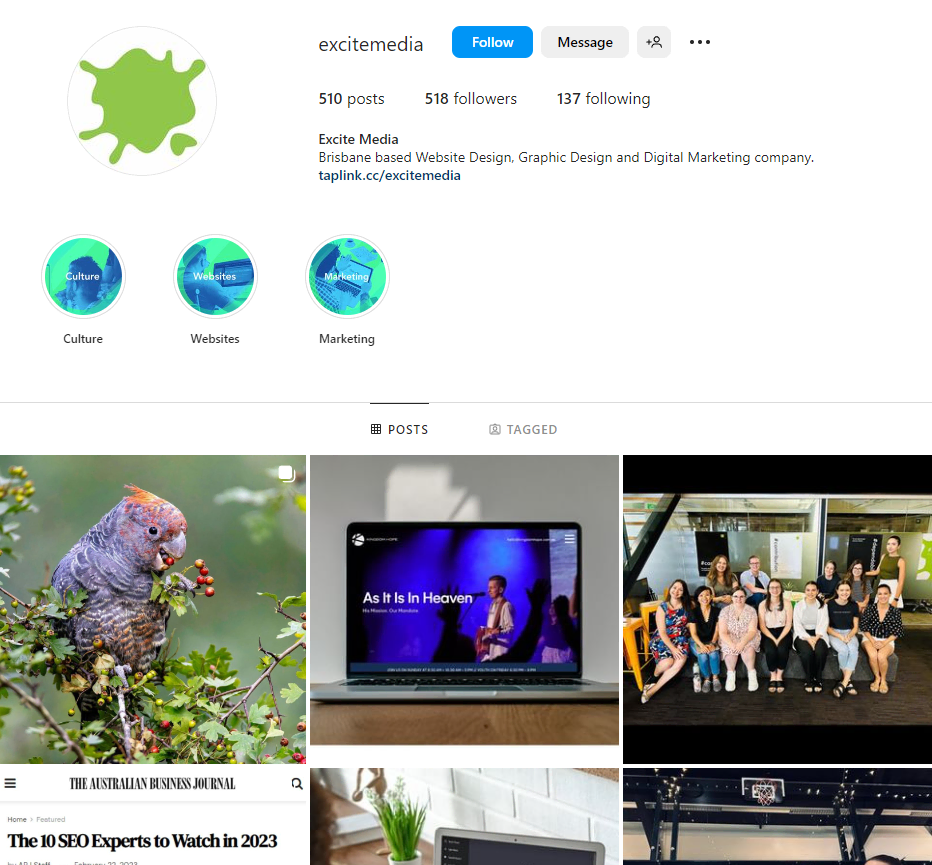
On social media, though, you’ll notice we just use our splotch – so it fits neatly in the profile display picture space.
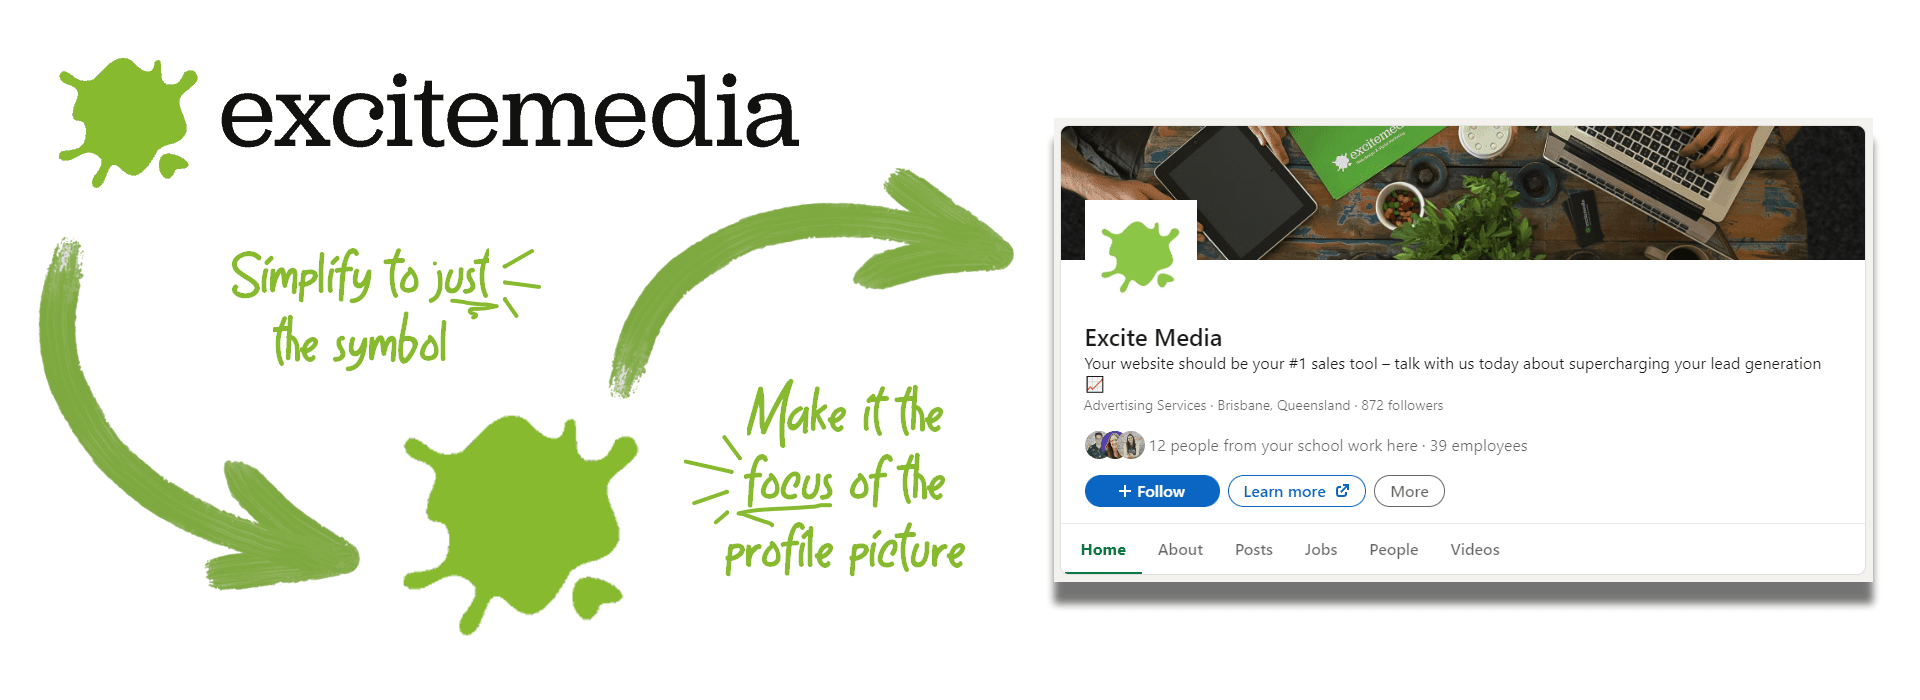
Try to keep your logo centered, with adequate padding (space surrounding it), and consistent across each of your social media platforms.
Cover Image 🖼️
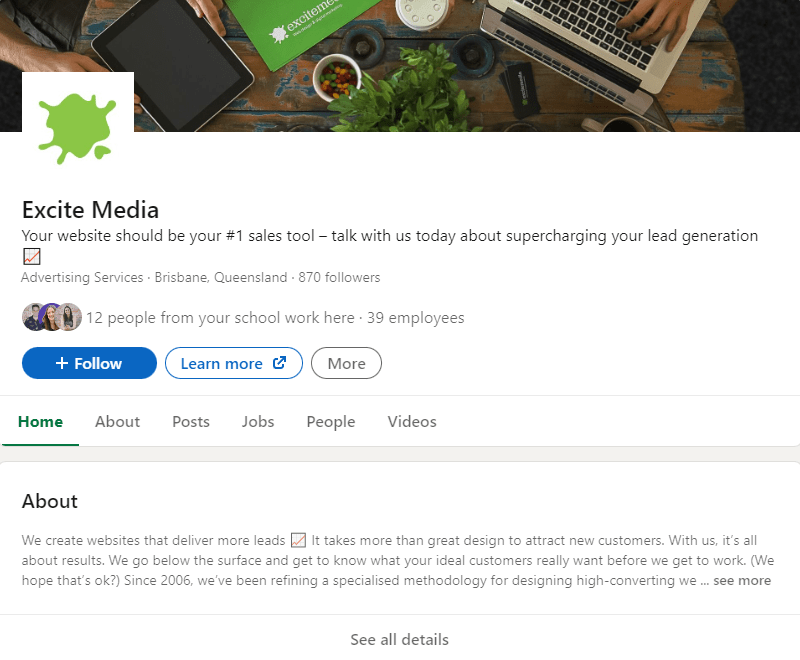
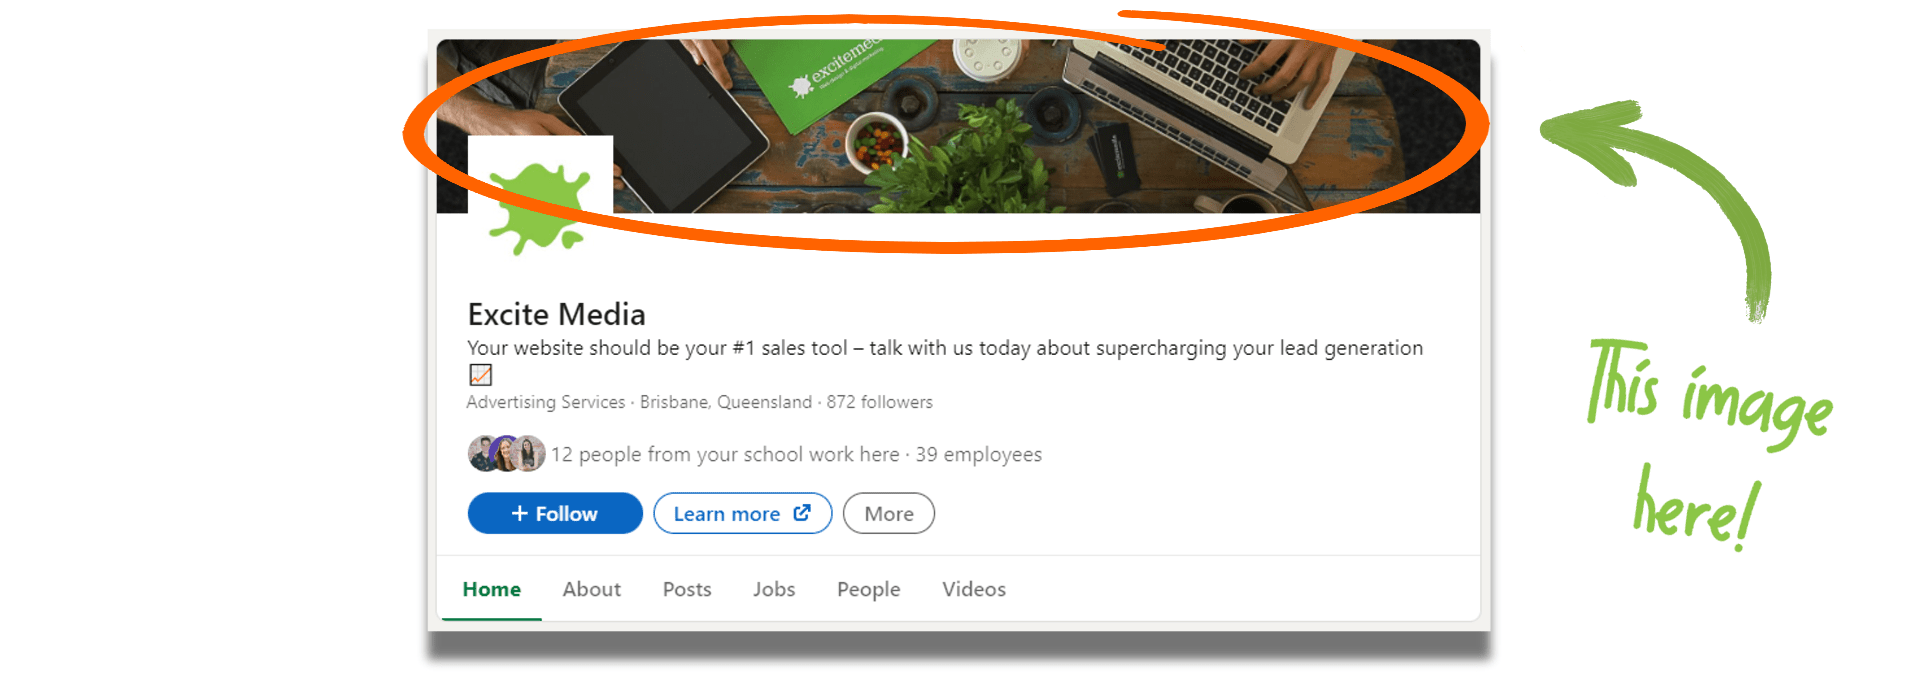
A high-quality, high-resolution cover photo for your Facebook, Twitter, or LinkedIn page is going to speak volumes about your business – before your visitors even scroll down.
Your cover image could be a nicely-designed image or a professional photo of your team or business’ front. It’s up to you!
It’s important to note that on each of these platforms, your profile picture will cover up a section of your cover image – so be sure to double-check there’s nothing important behind it.
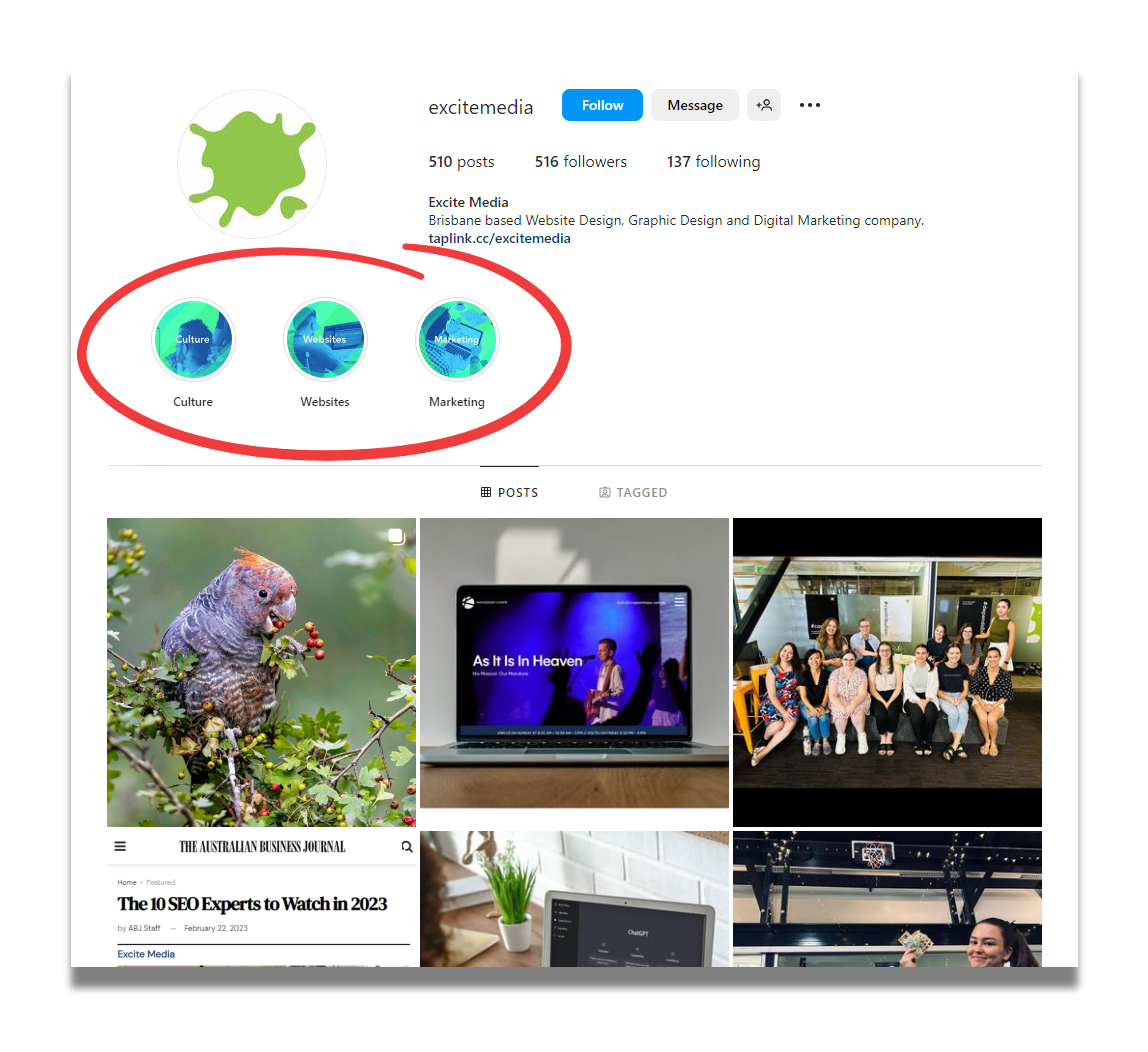
Instagram Story Highlight Covers 📝
Your Instagram story highlights can be a genius way to filter and categorise your stories and help your audience find the information they need.
You could have a highlight for your FAQs, your team culture, and examples of your work.
The covers for these should be relevant to their content and on-brand. It could be as simple as placing a label over your brand colours. A slightly more involved approach is creating on-brand icons to sit in these highlight circles.
A consistent brand name 📰
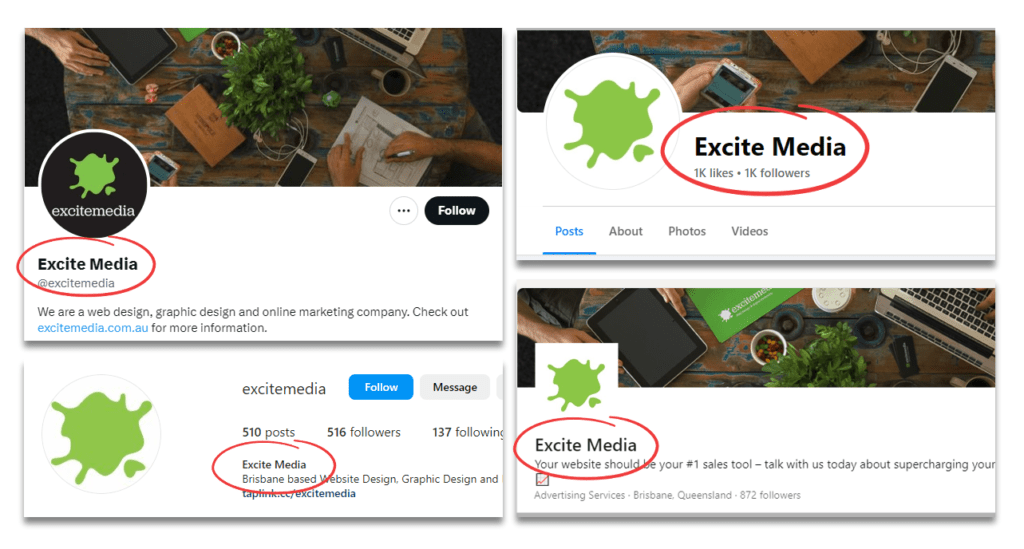
There are a lot of places your business name is going to show up. Your Google Business Profile, your website, industry-specific directories, all of your social media profiles, and more.
It’s important this name remains the same across all of these different platforms. So, avoid being ‘Excite Media’ on Facebook, then ‘Excite Media Agency’ on LinkedIn, and ‘Excite’ on TikTok.
Just keep it consistent.
This partially plays into your SEO, but it also helps your brand name stick.
Plus, it eliminates any confusion amongst your audience.
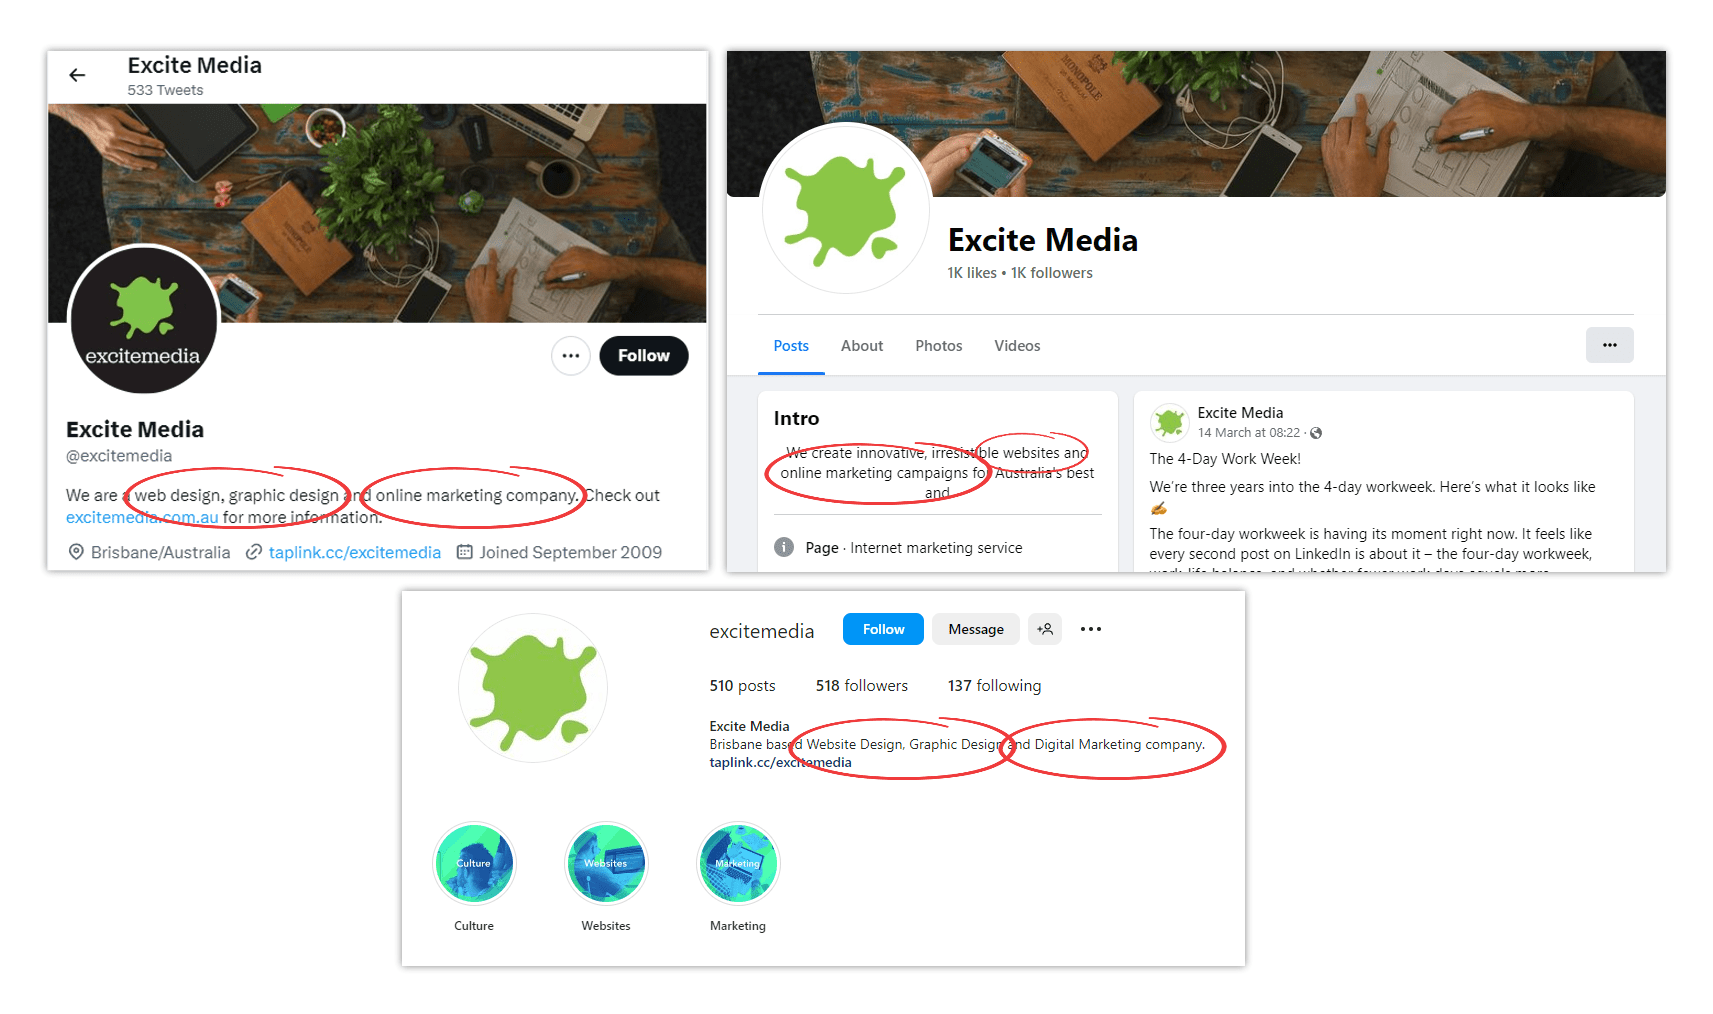
Consistent business details ✏️
Our tips for a good social media profile
Get the bio right 💬
Getting your bio just right will look different for every business and their different industries.
It’ll depend on your audience, the message you’re trying to get across, and who you are, as a brand.
Essentially, you’ll want to share what it is you do (your products or services), who you are, who you help (your audience), and how you help them.
Then, you’ll want to tie all of those details together in your brand voice.
Write your bio for the channel, too. So, if you’re on LinkedIn, keep it pretty professional. But on Instagram, you can get a bit more creative. And TikTok? You can get pretty adventurous.

Make sure your branding is cohesive 🤝

Understand your audience and the platform 🧠
Different platforms are going to suit different businesses.
We’re not saying a law firm couldn’t get results from TikTok, but we all know LinkedIn is your safest bet.
Once you’ve decided which social media platforms you’re going to create your pages on (and which platforms are the big priorities), make sure you understand what your audience is doing there.
If you’re on LinkedIn, you’re talking to professionals. They’re there to get tips and hints for their professional life and connect with other professionals. A skit-like video probably won’t cut it on this channel.
On the other hand, if you’re on TikTok, your audience is looking for entertainment! A skit video is probably going to be perfect, so long as it still represents your brand.
@excitemedia Couldn’t wait for the 2032 Olympics so we held our own ☝️🏅🏋️♀️
♬ It Is What It Is - Jenna Raine
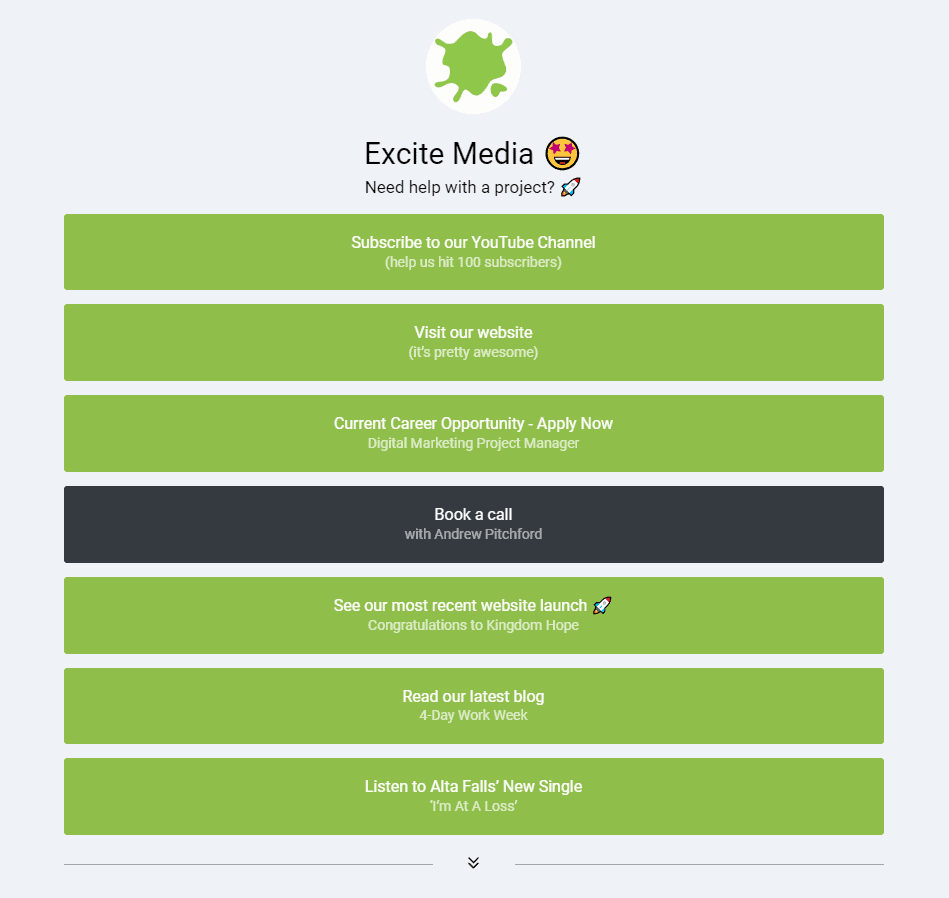
Use a link page 🔗
On social media platforms like Instagram and TikTok, a dedicated link page can be an amazing tool to send more traffic from your social post to your website.
Instagram and TikTok only allow you to post one link in your bio – it means you have to choose the one link you want to promote on your page.
By using a link page, you can put that one link in your bio, but once clicked, your followers will see all of the links you’d like them to see.
Linktree is an amazing tool for this, but you can also create your own link page on your own website. We use Taplink for ours.
Keep it secure 🔒
There are plenty of measures you can take to keep your social media accounts secure, but we have two pieces of advice that have come from plenty of client experiences.
Firstly, have more than one admin on your account. If you have one admin and somehow find yourself locked out of your personal Facebook account, then you’re locked out of your business profile, too.
And secondly? Get both admins to set up two-factor authentication (2FA) and download their personality security codes. On top of that, store those codes elsewhere for the ultimate safety net.
Setting up your Facebook page
How to create your page ✍️
- Log in to your personal Facebook account and head to facebook.com/pages/create/.
- Enter your business’ name, your category (type of business or industry), and enter your bio.
- Then click ‘Create Page’.
- You’ll be given four tabs to navigate through:
- About
- Profile Picture
- Add to Favourite
- Reach More People
- Complete the fields within each tab and click ‘Save Info’.
Your checklist ✅
- Business description covering who, what, why and where
- Profile picture
- Cover image
- Website link
Uploading your display photos 📸
- Sign in to Facebook and go to your business page.
- Hover your cursor over your profile image and click the camera icon.
- Click ‘Upload Photo’.
- Select the logo file and click ‘Open’. Crop and position as needed.
- Click ‘Save’.
Your cover photo
- Same as your profile photo, visit your page and then hover over your cover photo and click ‘Change Cover’.
- Click ‘Upload Photo’.
- Choose your preferred image and click ‘Open’. Position as needed.
- Click ‘Save’.
Setting up your Instagram page
How to create your page ✍️
- Log into your Instagram account and head to ‘Settings’ by clicking the hamburger menu (three lines in the top right corner).
- Scroll to the bottom, click ‘Add account’, and then ‘Create new account’.
- You’ll need to head to settings again once you’ve created this account, scroll to the bottom, and select ‘Switch to professional account’.
- Again, you’ll have to select a category for your business (your business type or industry). Then, you’ll need to visit your profile and click ‘Edit Profile’ to update your bio and profile information.
Instagram has a full page explaining exactly what you need to do.
Your checklist ✅
- Business description covering who, what, why and where
- Profile picture
- Website link (we’d recommend setting up a Linktree so you can post easy-to-find links in your bio)
Uploading your display photos 📸
- Sign into your Instagram account. We recommend doing this on your phone – not only does Instagram just work better on mobile devices, but you’ll only be able to upload a PNG file on mobile, not desktop.
- Visit your page – if you’re logged into your personal account, you can typically switch to your page via the person icon in the bottom right corner.
- Click ‘Edit Profile’ and select ‘Edit picture or avatar’. You can then choose from your library. Once you’ve selected a file, click ‘Done’.
Setting up your LinkedIn page
How to create your page ✍️
- Click the ‘Work’ icon (the one with the squares) in the top-right corner of your LinkedIn homepage.
- Scroll down and click ‘Create a Company Page’.
- Select the Page type:
- Company
- Showcase page
- Educational institution
- Enter all of the relevant information for your business.
- Check the verification box to confirm that you have the right to act on behalf of your company.
- Click the ‘Create page’ button.
- Click ‘Start building your page!’ to navigate through the rest of your required details.
Your checklist ✅
- Business description covering who, what, why and where
- Tagline
- Profile picture
- Cover image
- Location
- Website link
Uploading your display photos 📸
- Log into your personal LinkedIn profile, then navigate to your business page. You can do this by clicking your profile picture thumbnail on mobile or clicking on the page on the left on desktop.
- Click the ‘Edit page’ button (this will just be a pencil icon on mobile).
- You’ll find your logo in the ‘Page Info’ tab.
- You’ll then be able to add or edit your logo. You can position the logo by dragging it to where you want it to be.
- Click Confirm to save your changes.
Setting up your TikTok page
How to create your page ✍️
- Download TikTok from your preferred app store.
- Open the app.
- Click ‘Profile’ on the bottom right.
- Sign up.
You’ll need to switch your profile to a business account.
- In the TikTok app, tap Profile at the bottom.
- Click the Menu button at the top.
- Click ‘Settings and privacy’.
- Click ‘Manage account’.
- Click ‘Switch to Business Account’ and follow the instructions provided to finish.
Your checklist ✅
- Business description covering who, what, why and where
- Profile picture
- Website link
Uploading your display photos 📸
Be sure to save your logo to your mobile device before logging into your TikTok account.
- Click on your profile and then select the ‘Edit Profile’ button.
- Click ‘Change Photo’, then ‘Upload Photo’ and select your logo from your photo library.
- Crop and position your logo until it’s sitting where you want it.
- Click ‘Save’.
Setting up your Twitter page
How to create your page ✍️
- Go to twitter.com/signup.
- Click the ‘Create account’ button.
- A pop-up box will appear, allowing you to create your profile and enter all of your information.
You won’t need to create a business account here, as Twitter just has one standard account.
Your checklist ✅
- Business description covering who, what, why and where
- Profile picture
- Cover image
- Location
- Website link
- A pinned tweet with a key message
Uploading your display photos 📸
- Sign in to Twitter and go to your profile page by clicking your profile image or, if you’re on desktop, by clicking ‘Profile’.
- Click the ‘Edit Profile’ button on the right-hand side of the page and click your profile photo.
- Click ‘Upload Photo’.
- Select your logo file and click ‘Open’. Crop and position your logo.
- Then click ‘Save Changes’.
Header photo
- Visit your profile and click the ‘Edit Profile’ button.
- Click your header photo and select ‘Upload Photo’.
- Choose your preferred image and click ‘Open’.
- Then click ‘Save Changes’.
Are you on the right social media channels?
Get a free list of digital marketing recommendations for your business. We’ll share the best marketing avenues for your campaign and our top recommendations to grow your business.


